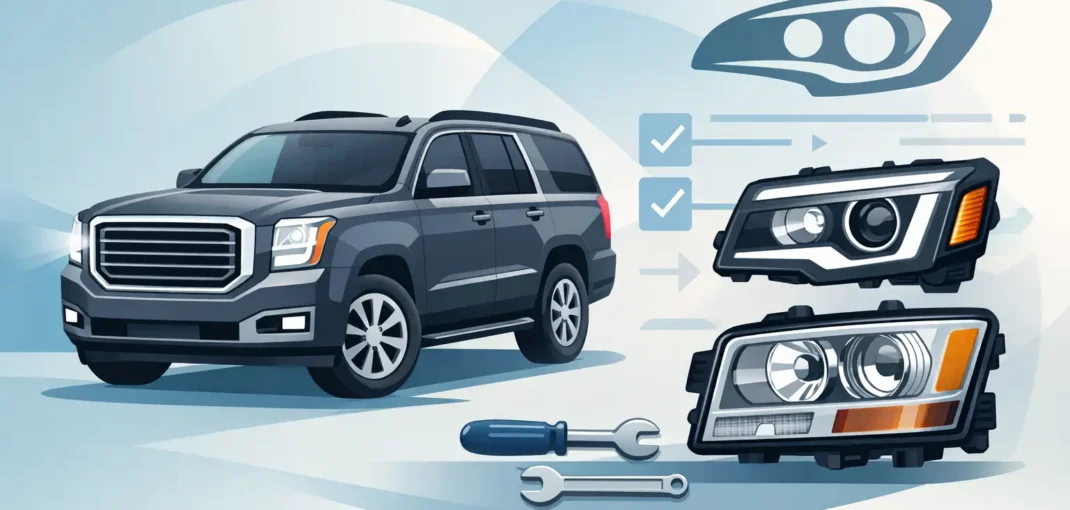
A cracked lens, faded reflector, or weak factory beam can make an otherwise clean Yukon look older than it is. The right GMC Yukon replacement headlights restore the front-end appearance while helping you see more clearly on dark roads, in rain, and during early-morning commutes. The key is buying for your exact Yukon year, trim, and factory lighting setup instead of choosing a headlight solely by appearance.
Start With Exact GMC Yukon Headlight Fitment
Yukon headlights are not one-size-fits-all. GMC has changed the body style, grille shape, headlight mounting points, bulb configurations, and daytime running light designs across Yukon generations. A housing made for one model-year range may look close to yours in a photo but still fail to line up with the fender, grille, bumper, or factory connectors.
Before shopping, confirm the model year and whether you drive a Yukon, Yukon XL, Denali, AT4, SLE, or SLT. Yukon and Yukon XL models within the same generation commonly share many lighting components, but trim-specific LED signatures and premium headlight packages can create important differences. Denali applications, in particular, may use different styling or electronics than a base-model Yukon.
Also check whether you are replacing the driver-side housing, passenger-side housing, or both. If one factory headlight is heavily hazed, the other one is usually not far behind. Replacing headlights as a pair gives the front end a more uniform color and brightness, especially when moving from aged factory housings to fresh clear-lens assemblies.
Assembly Replacement vs. Bulb Replacement
A new bulb can solve a burned-out low beam or high beam. It will not correct a yellow lens, cracked housing, damaged mounting tab, moisture inside the assembly, or worn reflector bowl. In those situations, a complete headlight assembly is the practical fix.
Complete GMC Yukon replacement headlights can also be a styling upgrade. Black housings sharpen the look of a dark grille or blacked-out trim package. Chrome housings maintain a factory-style appearance and work well when you want a clean replacement without changing the Yukon’s original character. Clear lenses help refresh the front end regardless of the housing finish behind them.
Choose the Lighting Style That Fits Your Yukon
The best option depends on whether your priority is factory-style replacement, updated LED appearance, or a custom front-end look. Every Yukon owner uses the vehicle differently, so there is no single best housing for every build.
Factory-style replacement headlights are a smart choice for daily drivers, work vehicles, and owners who want dependable fitment without a major visual change. They are especially useful after collision damage, lens failure, or years of UV exposure. Match the original bulb type and connector design carefully so the installation stays straightforward.
LED-style headlights are popular for Yukon owners who want a more current look. Depending on the assembly, they may include LED daytime running lights, LED position lights, projector-style low beams, or integrated turn signal accents. These housings can make an older Yukon look noticeably newer, but check the product details to see which functions use LEDs and which functions still require your original bulbs or separate replacements.
Projector headlights focus light through a lens rather than relying only on an open reflector design. They are often chosen for a cleaner beam pattern and modern appearance. Output still depends on the full setup – housing design, bulb or LED source, aiming, and lens condition all matter. A projector housing with poor alignment will not perform as intended.
Smoked or dark-tinted lenses create a custom look, but they involve a trade-off. A darker lens can reduce visible light output compared with a clear lens, and local vehicle-equipment rules may limit lens tint or lighting modifications. If night visibility is your main goal, a clear-lens assembly is usually the better direction.
What to Check Before Ordering Replacement Headlights
Fitment should lead every purchase. Use year-make-model selection and read the application range in the product name and specifications. Then compare your Yukon’s factory headlights to the listing photos. Look at the shape of the outer edge near the fender, the grille-side contour, the bulb access area, and the location of any running-light or turn-signal sections.
Pay close attention to these details before placing an order:
- The exact Yukon model-year range and body style
- Driver-side, passenger-side, or complete left-and-right pair configuration
- Factory halogen, HID, or LED lighting application
- Bulb type requirements and whether bulbs are included
- Housing finish, lens color, and integrated LED features
- Connector style, wiring requirements, and any included adapters
Bulbs are a frequent source of confusion. Some replacement assemblies arrive with bulbs installed, while others reuse factory bulbs or require new bulbs purchased separately. LED daytime running light strips may be built into the housing but still need a connection to the factory harness. Read the included-components section before starting the job so you are not left with an unfinished install.
If your Yukon has factory HID or advanced LED headlights, replacement options may require more research than a standard halogen setup. Modules, ballasts, leveling components, and factory wiring can be specific to the original equipment package. In that case, matching the original lighting technology is usually the simplest route unless the replacement assembly clearly states compatibility with your application.
Installation: Small Details Make a Big Difference
Many Yukon headlight assemblies are manageable for DIY owners with basic hand tools, but access varies by generation. You may need to remove upper radiator shrouds, grille fasteners, trim panels, or bumper hardware before the housing can come out. Work slowly around painted edges and plastic clips, particularly on older vehicles where retainers can become brittle.
Disconnect the battery if the installation involves wiring changes or if you are working around electronic lighting modules. Transfer bulbs, sockets, caps, and harnesses only if the replacement instructions call for them. Do not touch a halogen bulb’s glass with bare fingers. Oil residue can create hot spots and shorten bulb life. If you do touch it, clean the glass with an appropriate residue-free cleaner before installation.
Once the new housings are mounted, check every function before reinstalling all trim: low beams, high beams, turn signals, parking lights, daytime running lights, and side markers. This is also the right time to inspect wiring for corrosion, damaged insulation, or loose connectors. A new assembly cannot solve an electrical problem hiding in the harness.
Aim the Headlights After Replacement
Headlight aiming is not an optional finishing step. A housing can fit correctly and still point too high, too low, or off to one side. Poor aim reduces useful visibility and can glare into oncoming traffic.
Park on level ground facing a flat wall, with normal tire pressure and the vehicle loaded as it would be for regular driving. Mark the center height of each headlight on the wall, then follow the adjustment procedure for your Yukon and the replacement housing. A professional alignment check is worthwhile if you are unsure, particularly after front-end repairs or suspension changes.
Keep New Yukon Headlights Clear and Reliable
Fresh headlights stay looking better when the lenses are protected from sun exposure, road film, and harsh cleaners. Wash them with automotive soap, dry them with a clean microfiber towel, and use a lens-safe protectant if desired. Avoid abrasive polishing compounds unless you are correcting a problem, since aggressive polishing can wear down protective coatings.
Condensation deserves attention too. A light temporary haze after major temperature changes can occur, but standing water, repeated heavy fogging, or visible droplets usually point to a missing cap, damaged seal, or ventilation issue. Check that rear dust covers are fully seated and that the housing was not pinched during installation.
For a direct-fit lighting upgrade or a clean factory-style replacement, Car and Truck Zone makes it easier to narrow the options by vehicle application, lighting type, and housing finish. Select your Yukon carefully, compare the product details against your original setup, and choose the headlights that match the way you drive. The right pair can bring back the confident, clean front-end look your Yukon deserves after the sun goes down.