
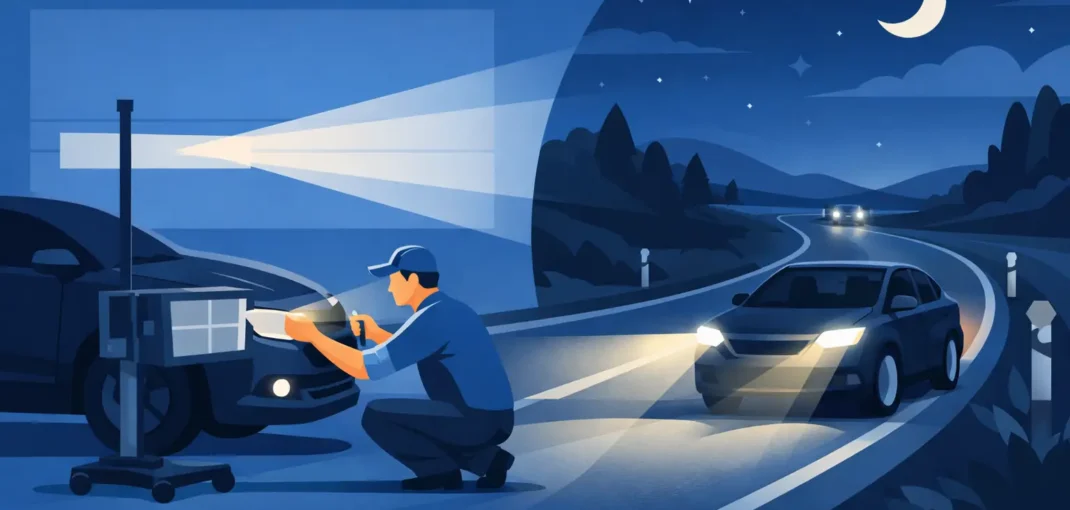
A new set of LED headlights can refresh the front end of a Silverado, Sierra, Mustang, or Tahoe fast. But if the beam pattern points too high, too low, or off to one side, the upgrade will not deliver the nighttime visibility you expect. A proper headlight aiming procedure helps put usable light on the road while reducing glare for oncoming drivers.
Headlight aim should be checked any time you replace a headlight housing, install a lift or leveling kit, repair front-end damage, change suspension components, or notice uneven nighttime coverage. Even direct-fit replacement headlights can sit slightly differently than the factory housings, so taking the time to aim them is part of a clean installation.
What You Need Before You Start
This is a garage-friendly job when your vehicle has accessible headlight adjustment screws. You need a level parking surface, a flat wall or garage door, masking tape, a tape measure, a screwdriver or socket that fits the adjusters, and ideally a helper. Check your vehicle owner’s manual or service information first, because some vehicles use a Phillips screw, some use a hex or Torx adjuster, and others require a long driver extension through an access hole.
Start with the vehicle in normal driving condition. Fill the fuel tank to at least half, remove unusually heavy cargo from the bed or cargo area, and set tire pressures correctly. If you normally carry tools, a tonneau cover, a hitch accessory, or work equipment in your truck, use reasonable judgment. Headlights should be aimed for how the vehicle is actually driven, not for an empty vehicle that sits higher than it does on the road.
Inspect the basics before adjusting anything. Make sure the headlight housings are fully seated, mounting tabs are not broken, bulbs or LED modules are installed correctly, and the lenses are clean. A loose housing can move after you aim it. If one beam looks noticeably different from the other, correct the installation issue before reaching for the adjustment screw.
Headlight Aiming Procedure With a Wall and Tape
Park the vehicle on level ground facing a flat wall, with the front of the vehicle about 25 feet away. This distance works well for many common US vehicle aiming methods, but vehicle-specific specifications always take priority. Some manufacturers call for a different distance or use a dedicated aiming target.
Pull up close to the wall first, with the vehicle straight and centered. Turn on the low beams. Locate the center point of each headlight lens and measure its height from the ground. Mark that height on the wall with a horizontal strip of masking tape. Then mark the vertical centerline of the vehicle and make vertical tape marks that line up with the center of each headlight.
Back the vehicle straight away from the wall to the specified distance, usually 25 feet. Avoid turning the steering wheel as you back up. Turn the low beams back on and look at the beam pattern. Most modern projector and LED headlights create a clear horizontal cutoff with a step or kick-up pattern on the right side for US traffic.
The exact target varies by vehicle, but a common starting point is to set the horizontal cutoff slightly below the tape line representing headlight-center height. At 25 feet, this is often around 2 inches lower. That downward aim gives the driver useful forward light without sending the brightest part of the beam into the eyes of approaching traffic.
Adjust one headlight at a time. If possible, cover the opposite headlight with cardboard or a towel held in front of the lens. Do not tape directly onto a hot lens or leave any cover in place long enough to trap heat. Turn the vertical adjustment screw in small increments, watching the cutoff move on the wall. The goal is a controlled, even cutoff just below the target line, not the highest beam you can create.
Horizontal adjustment is less commonly needed and should be handled carefully. The beam should generally be centered near its corresponding vertical tape mark, with the right-side step rising to the right. Do not aim both headlights inward to create a brighter-looking spot directly ahead. That can leave the shoulders dark and create distracting glare.
Aim Low Beams First
Low beams are the priority because they are used around other traffic. High beams usually follow the position of the housing or use the same basic mounting relationship. Once the low beams are correctly aimed, switch on the high beams to confirm they illuminate farther down the road evenly and do not appear dramatically crossed or separated.
If your vehicle uses separate high-beam and low-beam housings, it may have separate adjusters. Follow the vehicle’s service specifications instead of assuming both lamps use the same wall target.
What a Correct Beam Pattern Looks Like
A correctly aimed beam does not always look perfectly symmetrical on a wall. Many DOT-compliant US headlight patterns are designed with a flatter cutoff on the left and a raised section toward the right. That pattern puts more light toward road signs and the passenger-side shoulder while helping control glare in the lane of oncoming traffic.
On the road, the light should reach far enough ahead to identify lane markings, curves, debris, and signs without lighting up the interiors of vehicles in front of you. If drivers frequently flash their high beams at you while you are using low beams, your headlights may be aimed too high. If the road immediately in front of the bumper is bright but distance visibility is poor, they may be aimed too low.
LED upgrades can make an aiming issue more obvious because their beam cutoff is often sharper and their output can be brighter than worn factory halogen bulbs. Brighter is not automatically better if the light is misplaced. Proper aim is what turns a replacement lighting upgrade into real usable visibility.
Common Problems That Throw Off Headlight Aim
A few installation and vehicle conditions can make your wall measurements look right but still produce poor road performance. Watch for these common issues:
- Lifted or leveled trucks that point the front end higher than stock.
- Sagging springs, worn shocks, or suspension damage that changes ride height.
- Heavy cargo, a loaded trailer, or rear passengers that squat the rear of the vehicle.
- Incorrect bulbs, LED conversion kits that do not index correctly, or loose headlight housings.
- Smoked, hazy, cracked, or moisture-filled lenses that scatter the beam pattern.
For trucks with a significant lift, larger tires, or regular towing duty, a professional aiming check is a smart follow-up. The same applies if you cannot find the adjusters, the adjustment gear slips, or the beam pattern remains distorted after confirming the housing is installed correctly. Some newer vehicles also have automatic leveling systems, adaptive lighting, or calibration requirements that need professional equipment.
Do Not Aim Against Other Drivers
A quick road test is useful, but it is not a substitute for a measured setup. Avoid using parked vehicles, garage doors across the street, or oncoming traffic as your target. You cannot judge height accurately from those references, and a high aim may seem impressive from the driver’s seat while causing real glare outside the vehicle.
After your adjustment, take a short drive on a familiar dark road. Check that both sides of the lane are visible, signs light up at a reasonable distance, and the beam cutoff stays controlled over normal bumps. Recheck the aim after a few days if you installed new aftermarket housings, since hardware can settle after driving.
When you select vehicle-specific replacement headlights and install them securely, the final adjustment is the detail that makes the whole upgrade work. Set aside the extra half hour for a careful headlight aiming procedure, then enjoy the cleaner look and clearer road ahead without putting unnecessary light where it does not belong.