A light bar that looks right on a lifted truck can still be the wrong choice if it throws light too high, overloads a circuit, or will not hold position on rough roads. The best heavy duty light bars are built for the way your truck actually works, whether that means loading tools before sunrise, checking fence lines, plowing, towing, or running trails after dark.
For most truck owners, the right bar is not simply the longest or brightest option. Beam pattern, mounting location, wiring quality, weather sealing, and vehicle fitment all affect whether the upgrade delivers useful visibility. Start with your application, then match the bar to the truck.
What Makes a Heavy Duty Light Bar Different?
Heavy duty is about more than a thick housing. A quality LED light bar needs to handle vibration, heat, water, dust, and repeated use without losing output or filling with moisture. Look for a solid aluminum housing with cooling fins, a durable lens, sealed connectors, and sturdy mounting brackets. Hardware matters too. Thin brackets can flex on washboard roads or rough job sites, causing the beam to bounce and making nighttime driving more tiring.
Heat management deserves attention because LEDs produce heat behind the lens. A bar with effective fins and a well-designed housing protects the diodes and helps maintain consistent output during long use. Cheap light bars may look similar at first, but weak seals, poor wiring, and inadequate heat control often show up after a season of rain, mud, vibration, and temperature changes.
Water and dust ratings are useful shopping details, but they are not the only sign of quality. A higher rating is helpful for trucks that see wet trails, snow, pressure washing, or frequent job-site exposure. Still, inspect the wiring entry point, connector design, lens fitment, and bracket material. Those are common places where a bargain setup can fall short.
Best Heavy Duty Light Bars Start With Beam Pattern
A light bar should put light where you need it. That sounds obvious, but many buyers focus on claimed lumen numbers before considering the beam shape. Output figures are not always measured the same way between brands, so they are not a reliable one-number comparison.
A spot beam concentrates light farther ahead. It works well for higher-speed off-road travel, wide-open property, and long sightlines where you need to identify terrain or obstacles in the distance. A flood beam spreads light across a broad area at shorter range. It is useful for work trucks, recovery situations, trail turns, campsites, and backing into a dark loading area.
Combo light bars blend spot and flood optics. For many pickups and SUVs, a combo pattern is the most practical choice because it adds distance without leaving the shoulders completely dark. If you drive narrow wooded trails or work around equipment, the extra side coverage can be more useful than maximum throw.
Consider a driving beam when you want a more controlled forward pattern for road-like off-road conditions. It can provide a useful middle ground between a wide flood and a concentrated spot. The right choice depends on where and how fast you drive, not on which beam pattern has the biggest marketing claim.
White Light, Amber Light, and Lens Choice
White LEDs are the standard choice for forward visibility. Amber lighting can help with contrast in dust, snow, fog, and poor weather, and it can reduce the harsh reflection some drivers experience with bright white light. Amber is not automatically better, though. For clear-night trail driving or long-range work, white output is often the better primary light.
Clear lenses are common and keep the look clean. Smoked lenses can complement blacked-out grilles, bumpers, and exterior trim, but the lens tint may affect usable output. If visibility is the priority, choose the lighting function first and styling second.
Choose the Right Size for Your Truck
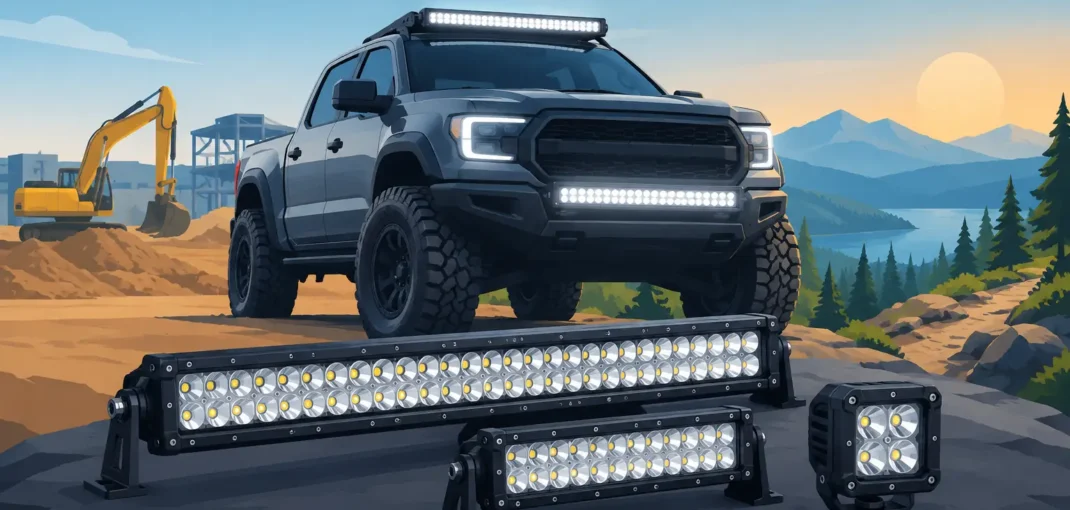
Longer is not always better. A 50-inch roof-mounted bar can light a wide area, but it adds wind noise, changes the truck’s profile, and may require vehicle-specific brackets. It also places the light high enough to create hood glare, windshield reflection, or unwanted bounce in dust and rain.
Smaller bars are easier to place and often deliver a cleaner installation. A 6-inch, 10-inch, or 20-inch bar can fit a bumper opening, grille area, hitch step, headache rack, or work-body mounting point without overwhelming the vehicle. Compact bars are especially useful as ditch lights, reverse work lights, or targeted auxiliary lighting.
A 30-inch to 40-inch bar is often a strong middle option for truck bumpers and front-end builds. It provides meaningful forward coverage while remaining easier to mount than a full roof bar. Measure the opening and account for brackets, wiring clearance, grille shutters, front cameras, parking sensors, and airflow before ordering.
Curved light bars follow the contour of many windshields and rooflines. They can offer a wider visual spread, but a straight bar may be easier to fit inside a bumper or behind a grille. Select the style that matches the mounting location rather than forcing a bar into a space it was not designed to occupy.
Mounting Location Changes Performance
The same light bar performs differently depending on where it sits. Bumper-mounted bars are typically lower and easier to aim without creating glare. They work well for driving, trail use, and work applications, especially when installed in a protected recess or behind a compatible grille opening.
Grille-mounted bars can create a factory-style appearance and keep the front end clean. Before choosing this location, confirm that the bar does not interfere with active grille shutters, radar sensors, camera equipment, hood latches, or cooling airflow. Modern Silverado, Sierra, Ford, Tahoe, and Yukon applications can have more front-end technology than older trucks, so fitment deserves extra attention.
Roof-mounted bars offer broad coverage and are popular for dedicated off-road builds. The trade-off is more wind noise, a more involved installation, and a higher chance of reflected light in poor weather. They are usually best for owners who genuinely need elevated lighting rather than those adding a light bar mainly for appearance.
Use vehicle-specific brackets whenever possible. Universal mounts can work for custom builds, but direct-fit brackets save time and reduce the chance of drilling into the wrong area. They also help position the bar correctly for the vehicle’s contours and available clearance.
Do Not Treat Wiring as an Afterthought
A heavy duty light bar is only as dependable as its wiring. Use a proper wiring harness with an appropriately sized fuse, relay, switch, and weather-resistant connectors. The fuse should protect the circuit, while the relay allows the switch to control the light without carrying the full current load.
Check the light bar’s actual amp draw and match the wire gauge to the circuit length and load. Do not tap into a factory lighting wire just because it is convenient. Modern vehicle electrical systems can be sensitive, and poor connections can lead to flickering, warning lights, or damaged wiring.
Route wiring away from sharp edges, moving components, exhaust heat, and steering parts. Protect runs with loom where needed, secure them with quality fasteners, and leave enough slack for normal engine movement. A clean installation is not just about looks. It makes future troubleshooting much easier.
Aim the bar after installation on level ground. Set it too high and you waste light above the driving surface while increasing glare for others. Set it too low and the distance disappears. Make small adjustments, test the beam in the conditions you use most, and retighten mounting hardware after the first few drives.
Check Local Rules Before Using Auxiliary Lights
Light bar laws vary by state and by the type of road. In many areas, high-output auxiliary lights cannot be used on public roads or must be covered when not in off-road use. Some locations also have rules around lens colors, mounting height, and whether lights can be wired with high beams.
Use light bars responsibly around other drivers. A powerful auxiliary bar can be a major advantage off-road or at a work site, but it is not a replacement for properly aimed headlights, fog lights, or legal road lighting. Keep your factory lights in good operating condition and use auxiliary lighting where it is appropriate.
Shop by Application, Not Just Appearance
When comparing options, start with your truck’s year, make, and model, then narrow the choice by mounting location and intended use. A light bar that fits a 2014 Silverado bumper may not clear the front-end components on a newer truck. The same applies to grille designs, roof brackets, cab mounts, and aftermarket bumpers.
Car and Truck Zone makes this process easier by organizing lighting and exterior upgrades around vehicle fitment. Select your vehicle, confirm the application details, and compare dimensions, beam style, mounting hardware, and wiring needs before adding a bar to your build.
The best setup is the one you will use with confidence: a properly mounted, correctly wired light bar that adds useful visibility without creating fitment problems or unnecessary glare. Choose for the miles, trails, and work your truck sees most, then make the installation as durable as the light itself.