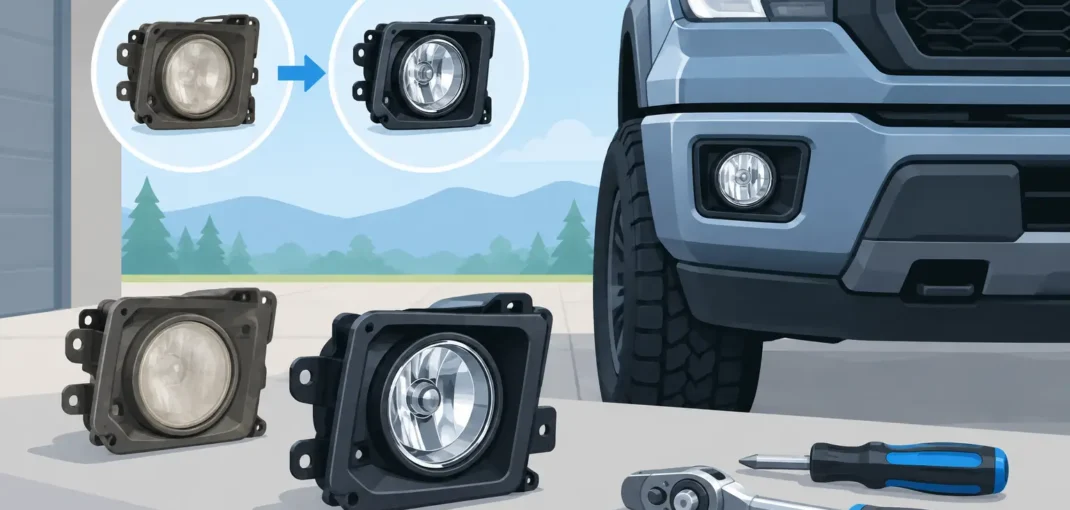
A cracked foglight housing does more than hurt the front-end appearance of your vehicle. It can let water into the lamp, corrode connectors, reduce light output, and leave an LED or bulb assembly loose behind the bumper. Learning how to replace foglight housings helps you restore a clean, secure lighting setup without paying dealership labor rates.
For many trucks, SUVs, and cars, this is a realistic driveway project. The exact access point varies by vehicle: some housings come out through the wheel well, while others require removal of a lower splash shield, grille trim, or the front bumper cover. The key is ordering the correct year-make-model application before you take anything apart.
Confirm What Needs Replacing First
The term foglight housing can mean two different things. On some vehicles, the bulb, lens, reflector, and rear shell are one sealed fog light assembly. On others, the outer bezel or mounting bracket is separate from the actual lamp. Inspect the area closely before ordering parts so you replace the damaged component instead of buying hardware you do not need.
Replace the complete assembly when the lens is cracked, the reflector is burned or peeling, the housing has water inside, or mounting tabs are broken. A bezel-only replacement makes sense if the light still works properly but the painted, chrome, or black trim around it is damaged. If the lamp flickers, check the connector and ground as well. Replacing a housing will not correct a wiring issue.
Fitment is the most important shopping step. Foglight housings can look nearly identical across trim levels while using different mounting points, bulb types, lens patterns, or connector styles. Select your vehicle by year, make, model, and trim where applicable. Also verify whether your truck has factory fog lights, LED fog lights, a sport package, or an aftermarket bumper. These details determine whether a replacement will install correctly.
Tools for Replacing Foglight Housings
Most installations call for basic hand tools, but having the right supplies nearby prevents a simple job from turning into a frustrating one. Gather these items before raising the vehicle or removing panels:
- Ratchet, extensions, and metric or SAE sockets
- Phillips and flat-head screwdrivers
- Trim-clip removal tool or panel tool
- Torx bits if your vehicle uses Torx fasteners
- Work light, gloves, and safety glasses
- Dielectric grease for electrical connectors
- Replacement clips or screws if the original hardware is rusty or damaged
A floor jack and jack stands may be needed for access under the bumper. Never rely on a jack alone. If you are working through a wheel-well liner, turning the steering wheel fully away from the side you are servicing can create enough room on many vehicles without removing the tire.
How to Replace Foglight Housings Step by Step
Disconnect Power and Create Access
Park on level ground, set the parking brake, and switch off all exterior lights. Disconnect the negative battery cable if you will be handling exposed wiring, repairing connectors, or working near active electrical components. For a straightforward plug-in housing replacement, some experienced installers leave the battery connected, but disconnecting it is the safer choice.
Next, find the best access route for your vehicle. Look underneath the bumper for a lower shield or reach behind the fog light through the wheel-well liner. Plastic push pins and small screws often secure these panels. Remove only the fasteners necessary to fold the liner or shield back. Keep hardware organized by location because bumper screws, splash-shield screws, and trim clips may be different lengths.
On certain Silverado, Sierra, Ford truck, Tahoe, and Yukon applications, the fog lights are accessible from behind the bumper. Other vehicles require partial bumper-cover removal. Do not force the bumper cover or trim. Hidden fasteners are common, and pulling too hard can break tabs that are harder to replace than the foglight housing itself.
Unplug the Old Fog Light
Locate the electrical connector at the rear of the lamp. Press the locking tab and pull the connector straight back. Avoid pulling on the wires. If the connector is stuck from dirt or heat, gently work it loose rather than prying aggressively on the plastic lock.
Check for moisture, green corrosion, melted plastic, or loose terminals. A clean, dry connector is a good sign. Light dielectric grease on the rubber seal can help keep out moisture, but do not pack grease into the electrical terminals. If the connector is burned or badly corroded, repair it before installing the new housing or the problem may return.
Remove the Housing and Mounting Hardware
Most fog lights are held in place with two to four screws, bolts, or retaining tabs. Support the housing with one hand while removing the last fastener so it does not drop and scratch the bumper. Note the position of any aiming screw, brackets, or spacer washers.
If your old lamp uses a reusable bulb, remove the bulb carefully and set it aside in a clean location. Do not touch the glass of a halogen bulb with bare fingers. Skin oils create hot spots and can shorten bulb life. If the bulb has high mileage or the pair is noticeably dim, this is a practical time to install new matching bulbs or upgrade to compatible LED fog lights.
Install the New Housing Without Forcing It
Compare the new part with the original before mounting it. Confirm the connector position, mounting-tab layout, lens shape, and left-side or right-side orientation. A direct-fit replacement should sit naturally in the bumper opening. If holes do not line up, stop and recheck fitment rather than enlarging holes or forcing fasteners into place.
Install the mounting screws or bolts by hand first. Once each fastener has started, tighten them evenly. Snug is usually enough for plastic lamp brackets. Over-tightening can crack a mounting ear, strip a plastic insert, or distort the housing so the lens does not sit square with the bumper.
Reconnect the electrical plug until it clicks into place. Reinstall the wheel-well liner, lower shield, bumper trim, or other panels you removed. Replace broken push clips now instead of leaving a loose liner that can rub a tire or sag in wet road conditions.
Test the Lights Before Calling the Job Finished
Reconnect the battery if you disconnected it, then turn on the fog lights and inspect both sides from the front of the vehicle. Check that each lamp illuminates, the lens is seated evenly, and the light does not flicker when you gently move the wiring harness.
Fog lights should cast a low, wide beam designed to light the road directly in front of your vehicle without creating glare. If your replacement assembly includes an adjustment screw, aim it on a level surface after dark. There is no single universal aiming measurement because bumper height, suspension changes, tire size, and lamp design all matter. The beam should stay low and controlled, not point upward into oncoming traffic.
If only one side was damaged, compare the new housing to the original side. A fresh clear lens can look brighter than an older hazy lens. Replacing foglight housings in pairs is often the better visual choice when both lenses are weathered, especially on trucks with black housings, smoked lenses, or LED upgrades where symmetry matters.
Common Problems That Slow Down Installation
The most common issue is ordering a part that looks right but does not match the vehicle’s factory configuration. Before purchase, check whether the listing is for a bumper-mounted fog light, a driving light, an LED daytime running light, or a trim bezel. These parts are sometimes grouped together, but they are not interchangeable.
Broken mounting tabs are another concern. If the bumper mounting point itself is cracked, a new housing alone may still sit loose. Inspect the bumper bracket and surrounding trim while the lamp is out. You may need a bracket, retaining clip, or bezel in addition to the housing.
Condensation after installation deserves attention too. A small amount of temporary fogging can occur when temperatures change, but standing water inside the lens is not normal. Confirm that the rear cap, bulb seal, and connector gasket are seated correctly. If a new housing repeatedly collects water, inspect for a pinched seal or damage caused during installation.
Choose the Right Replacement for Your Build
A stock-style replacement is the best choice when you want factory-like appearance and quick installation. It works well for daily drivers, work trucks, and vehicles being returned to clean original condition. For owners updating the front end, LED foglight housings can provide a sharper look, faster illumination, and a better match for LED headlights or marker lights.
Lens and housing color also change the look of the bumper. Clear lenses offer a clean OEM-style appearance, while smoked or black housings can complement black grilles, dark headlight housings, and other exterior upgrades. Just make sure the lighting output and lens color remain appropriate for road use in your area.
Car and Truck Zone makes it easier to narrow down replacement lighting by vehicle application, so you can shop for a housing that matches your truck, SUV, or car instead of guessing from a photo. A correct-fitting part protects your investment, restores visibility, and gives the front end the finished look it should have.
Once the new foglight housing is installed, take a short evening drive and check the beam pattern on a familiar road. That quick real-world test is the best way to confirm your repair looks right, works right, and is ready for the miles ahead.